


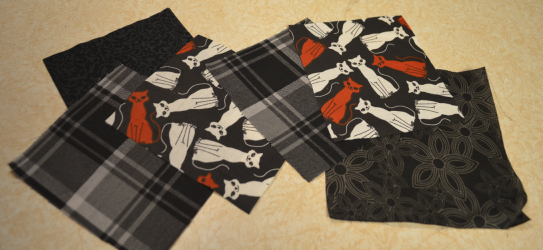
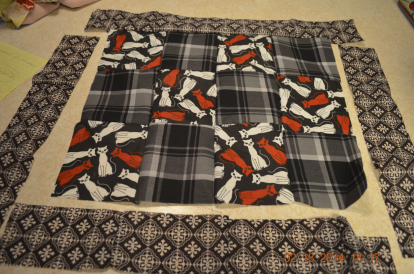
Gather up all your matching fabrics. Cut out same-sized squares.
Below I have cut 3 x 3 squares for a cat quilt.
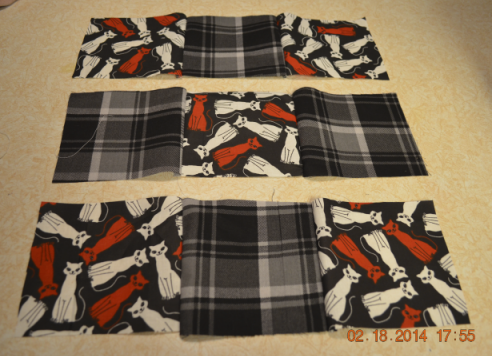
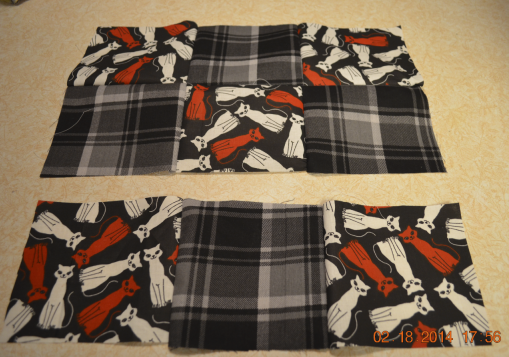
Sew strips (top row to each other, then the second row and so on. Then sew the rows together.)
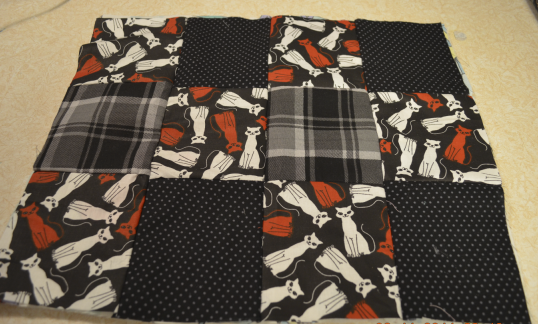
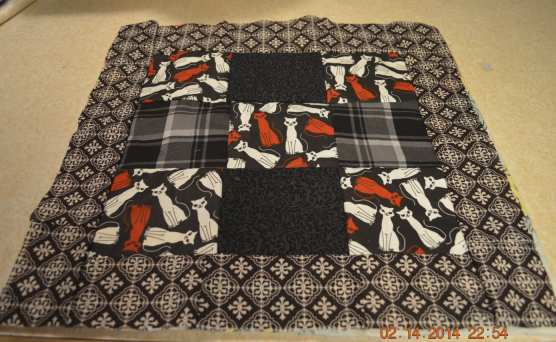
If you want to frame the squares, sew a solid color around all four sides.
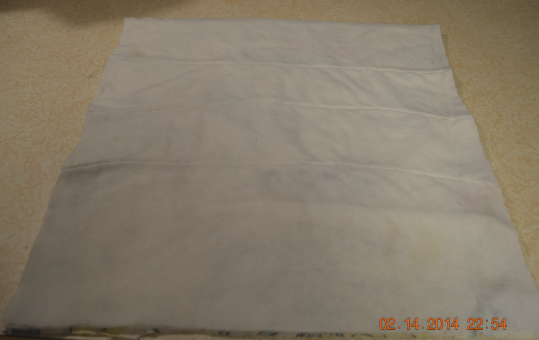
Next cut fabric for the quilt's back. Pick a color that will match the front. Cut it just slightly larger then the quilt front.

Cut the inside fluffy filler piece. Cut it just slightly larger then the front piece. I use old washed blankets or store bought matting.
This part is important. Place your stuffing/filler piece down first. Then the back piece over it facing UP. Then place your front quilt piece facing DOWN over the back piece.
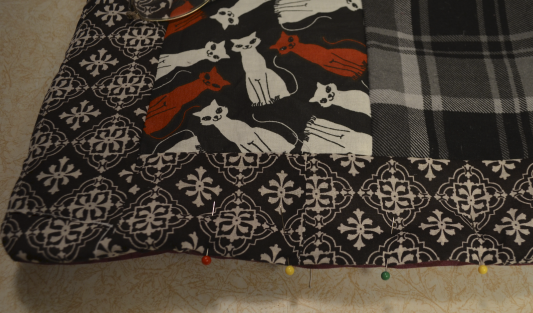
Straight pin the pieces together two inches in from the edges so the fabric pieces do not move during sewing process.
(the background color is different in the following pics.)
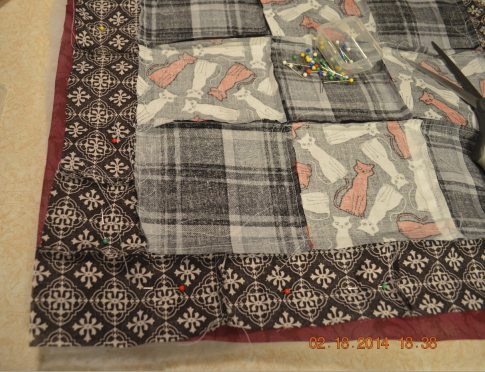
Before you begin sewing, mark an area along the outside that is five inches long with chalk. This is where you will NOT sew as you sew around the outer edges.
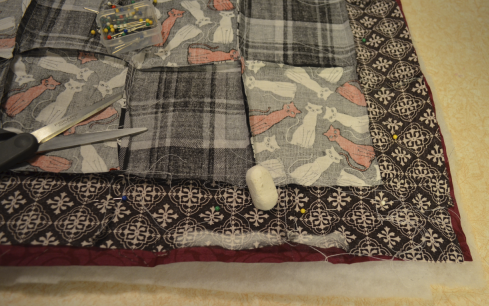
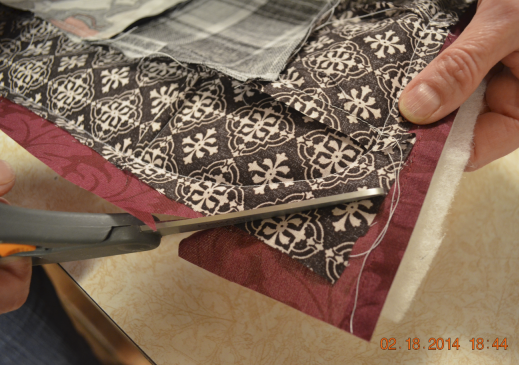
trim excess fabric
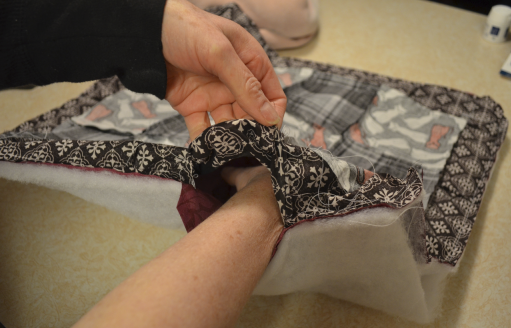
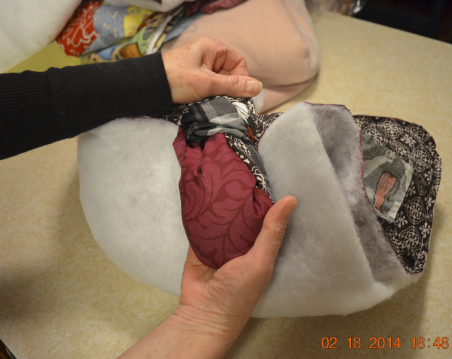
Once the three pieces are sewn together, (remove pins) reach in the un-sewed area between the front and the back pieces and pull inside out (actually you will be pulling the outside of the quilt out!)
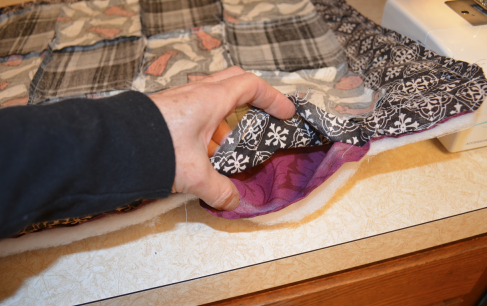
Once you have done that flatten out the little quilt. Sew up the 5 inch area that was chalked to close up the quilt.
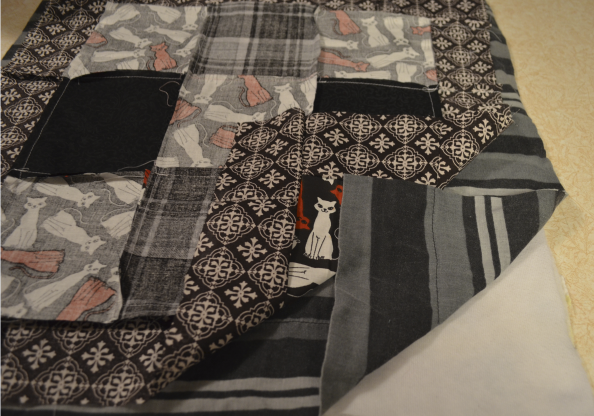
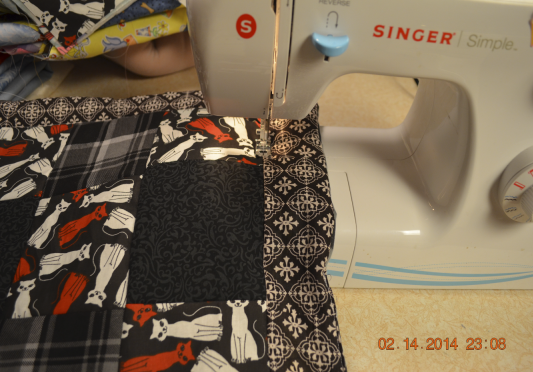
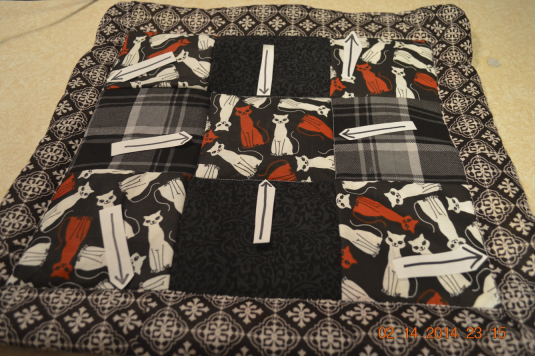
As seen on the photo below start sewing around the frame. This will keep the blanket together during use and washings.
Also pick an area around the center and reinforce that area by sewing around. Arrows show what I mean here.
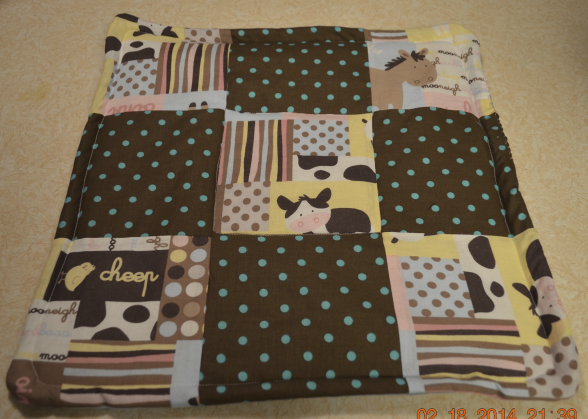
Here is a much simpler quilt to make with out the frame around it.
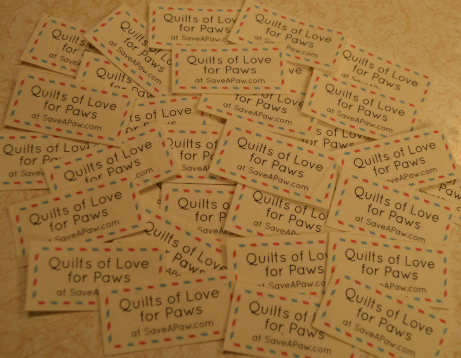
I ordered little iron-on labels in case the shelter needs more quilts!
(thank you for ignoring the dates on the pictures! can't seem to be able to get rid of that feature on the camera.)